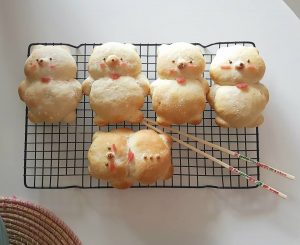
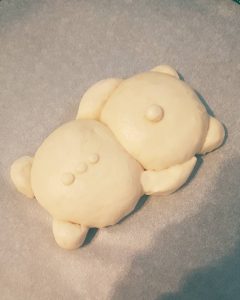
If you have children like mine, who turn their noses up at the thought of plain sandwiches or buns in their lunch box every day, these Japanese milk bun bears might just be the thing to mix it up a little, keep their interest and more importantly, their little bellies full.
I originally saw this recipe at Bento Monsters after a particularly hangry child came home from school with her sandwich still in tact. The ingredients listed never worked out for me. So after MUCH trial and error, and eating of all the buns, I adjusted the quantities and have listed them here for you today.
Fingers crossed you enjoy making these buns (and eating them) as much as my family did (and have and will again).
Carbs are not the enemy, especially when they come packaged as cute little teddy bears. They can be eaten as is, or you can use them as a bun and add all of your favourite fillings.
Ingredients:
500 grams bread flour
300ml milk
7g instant dried yeast (1 sachet)
20g butter melted and cooled
20g caster sugar
6g salt (1 1/2 tsp)
Method:
1 – Heat the milk to make it just warm and pour in yeast and stir. Allow to sit there for about 10-15 minutes to activate. You’ll know when it’s ready when it starts to bubble.
2 – Mix dry ingredients all together in a large bowl. Make a well in the centre. This is where you will pour in your wet ingredients.
3 – Add milk and yeast mixture to the middle of the well and mix ingredients to form a dough. It’s all you at this point. You’re in control. You can do this. I believe in you.
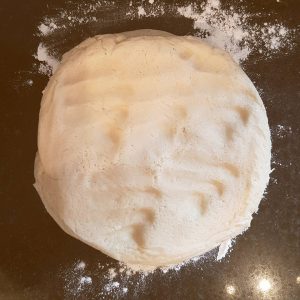
4 – On a floured work bench, knead the dough for about 10 minutes. Once the dough feels pliable, roll into a ball and place in a bowl. Cover with cling wrap and a clean tea towel and sit it in a nice warm and cosy spot for about an hour until it doubles in size. Don’t listen to them. Size does matter, especially when it comes to bread!
5 – Lightly flour your kitchen bench and proceed to knock out the air from your dough. Use your fist and feel free to pretend it’s someone you’re shitty with.
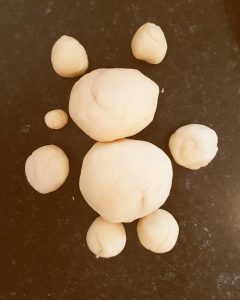
6 – Divide the dough into about 10 portions. This will make about 8 large bears (you can also halve that again if you wanted to make 16 smaller bears).
Cut 8 of those 10 portions in half to become the head and torso. Use the remaining 2 portions (out of the 10) to use as your ears, feet, arms, nose and buttons (if you have dough left over).
Although with regards to portions it’s best to play it by ear. You’ll figure it out as you go along.
7 – For each bear you will need 2 large balls for the head and torso. You’ll need 2 medium to small sized balls for the arms, 2 small balls for the feet, 2 smaller balls for the ears, and the smallest ball for the nose. Balls.
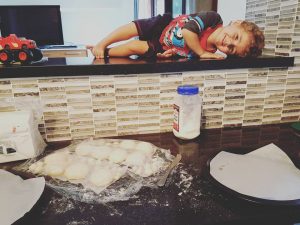
8 – Once you have your balls in place like we all should at some point of our lives, cover with cling wrap and allow the dough to rest for about 15-20 mins.
9 – Now it’s time to shape our bears! Roll out your dough and shape your bear and place on a baking paper lined tray. Cover and leave to rise for 45 mins. Nearly there! Probably best to pre-heat the oven at this stage at 170 degrees.
10 – Spray your warm oven with some water to create steam. Place your milk bears in the middle tray for a more even bake, and cook for about 15 minutes.
11 – Now it’s time to cool those bears on a rack and then decorate as you see fit!
Enjoy!
